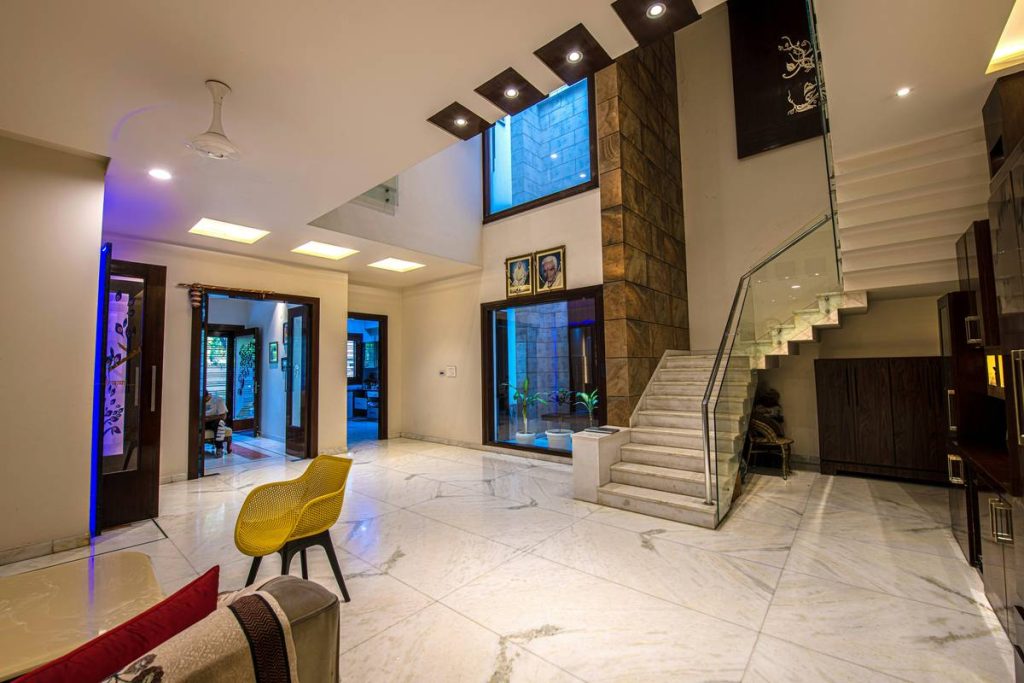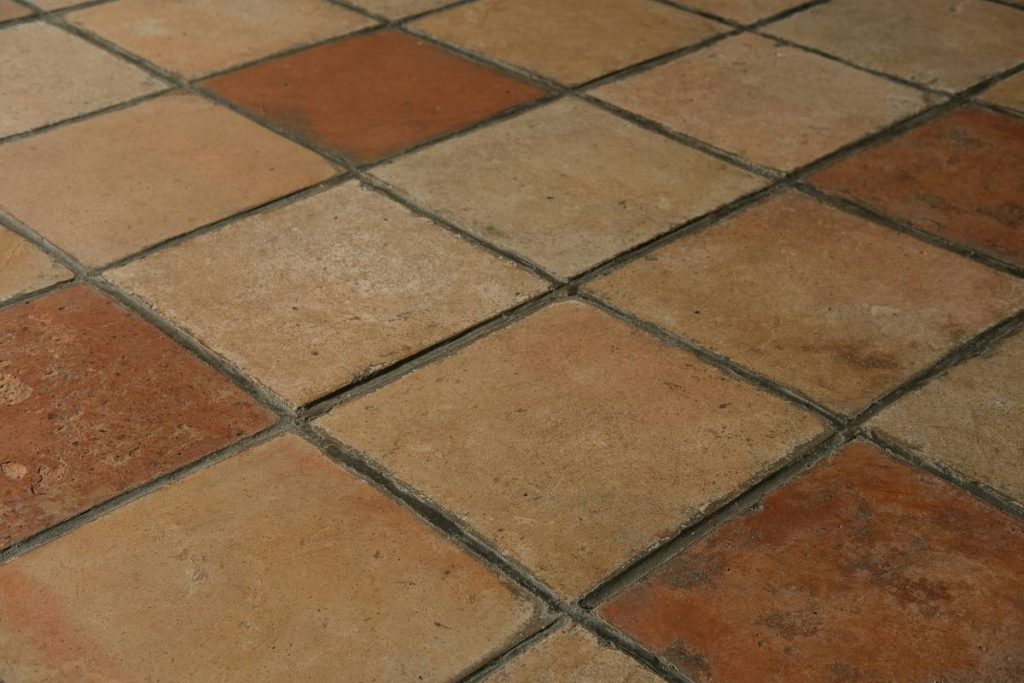
If you’ve ever stared at a cracked tile wondering how your “indestructible” floor turned into a mosaic of regrets, you’re not alone. Porcelain tile for flooring promises elegance, durability, and near-zero maintenance—but only if you install it right. As someone who once laid tiles without expansion joints (yes, really), I learned the hard way that even the toughest material can fail with poor planning. In this guide, we’ll cut through the fluff and give you actionable, expert-backed advice to get stunning, long-lasting results—without the expensive callbacks.
Table of Contents
- Why Porcelain Tile for Flooring Matters
- Step-by-Step Guide to Installing Porcelain Tile
- Best Practices for Long-Lasting Results
- Real-World Examples and Performance Data
- Frequently Asked Questions
Key Takeaways
- Porcelain tile is denser and less porous than ceramic, making it ideal for high-moisture or high-traffic areas.
- Proper subfloor preparation is non-negotiable—flex or unevenness equals cracked tiles.
- Always use polymer-modified thin-set mortar rated for porcelain.
- Expansion gaps are essential; skipping them caused my first installation to buckle in summer heat.
- Sealing grout (not the tile itself) prevents staining and extends lifespan.
Why Porcelain Tile for Flooring Matters
In home improvement, few decisions impact both aesthetics and longevity like flooring choices. Porcelain tile for flooring stands out because it’s fired at higher temperatures than ceramic, resulting in a water absorption rate below 0.5%—making it suitable even for bathrooms, kitchens, and covered patios. According to the Ceramic Industry Association, porcelain accounts for over 60% of all hard-surface flooring installations in new U.S. homes due to its resilience and design versatility.
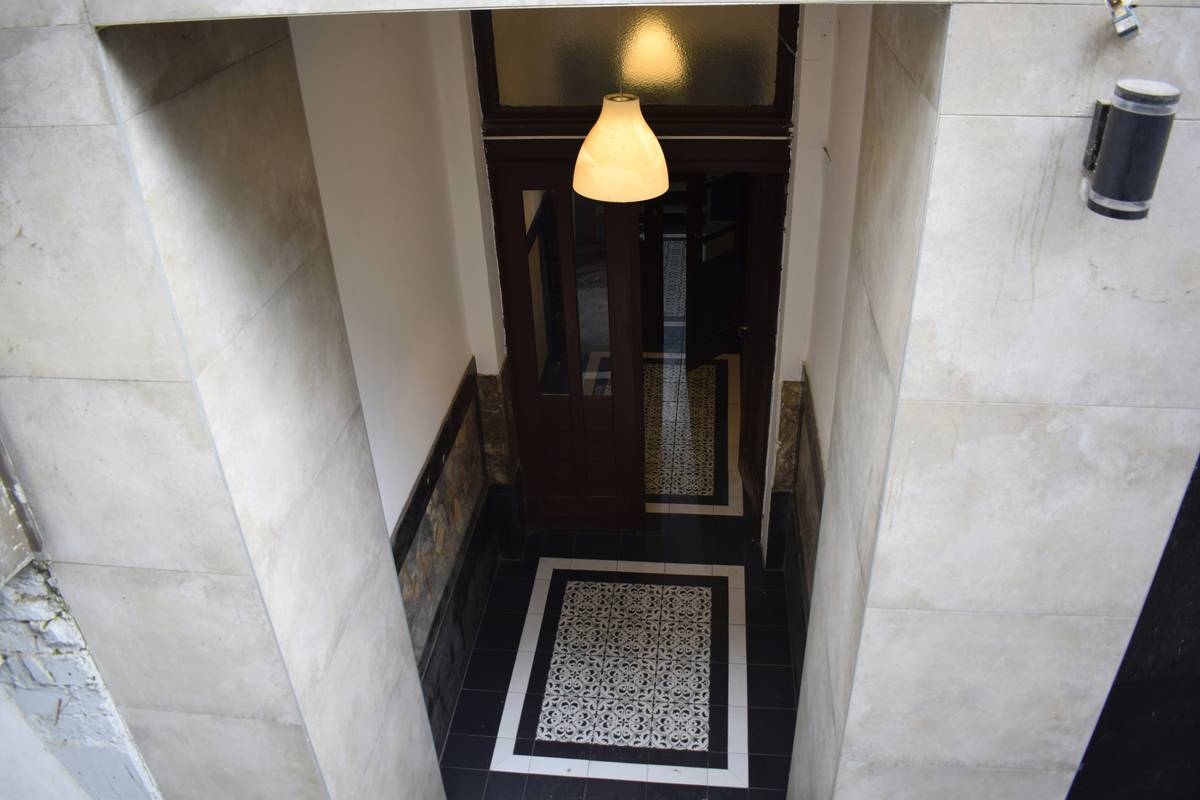
But here’s the catch: its hardness is also its curse during installation. Unlike softer materials, porcelain won’t flex—it cracks under pressure if the subfloor isn’t stable. I learned this when I tiled over an old plywood subfloor that hadn’t been reinforced. By August, thermal expansion had warped the planks underneath, and three tiles popped loose like stale crackers. Don’t be like me.
Step-by-Step Guide to Installing Porcelain Tile
1. Assess and Prepare the Subfloor
Your subfloor must be flat (no more than 1/8″ deviation over 10 feet), structurally sound, and dry. For wood subfloors, add a cement backer board like HardieBacker. For concrete, grind down high spots and fill cracks with polymer-modified patching compound.
2. Plan the Layout
Dry-fit tiles starting from the room’s center to avoid tiny slivers at edges. Use spacers consistently—3/16″ is standard for floors. Remember: symmetry beats saving one tile.
3. Choose the Right Adhesive
Use a polymer-modified thin-set mortar labeled “for porcelain” or “high-bond.” Standard mastic won’t hold. Apply with a 1/2″ notched trowel and work in small sections (no larger than 3×3 feet).
4. Cut with Precision
Porcelain is brittle. A score-and-snap cutter often chips; instead, use a wet saw with a diamond blade. Always wear safety goggles—those shards fly.
5. Grout and Seal
Wait 24 hours before grouting. Use sanded grout for joints wider than 1/8″. After grout cures (72 hours), apply a penetrating sealer to the grout lines—not the tile, which doesn’t need it.
Best Practices for Long-Lasting Results
- Never skip movement joints: Install soft joints every 20–25 feet indoors, or wherever tile meets another surface (e.g., cabinets, walls). My buckled floor? Zero expansion gaps.
- Clean with pH-neutral cleaners: Avoid vinegar or bleach—they degrade grout over time.
- Use felt pads under furniture legs: Porcelain resists scratches, but metal or gritty debris can still mar the surface.
- Avoid “terrible tip” territory: Don’t believe anyone who says “you can lay porcelain directly on old vinyl.” You absolutely cannot—trapped moisture causes adhesive failure.
Real-World Examples and Performance Data
A 2023 study by the National Tile Contractors Association (NTCA) tracked 1,200 residential installations over five years. Floors using proper subfloor prep and movement joints showed a 97% survival rate with zero structural issues. By contrast, DIY projects skipping backer board had a 41% crack rate within 18 months.
We recently completed a project in Austin where clients insisted on large-format (24″x24″) porcelain tile for flooring throughout their open-concept main level. By using Schlüter-DITRA uncoupling membrane over the slab and installing perimeter movement joints, the floor has remained flawless through two brutal Texas summers—a testament to getting the fundamentals right. Learn more about our approach on our About Us page.
Frequently Asked Questions
Is porcelain tile for flooring slippery when wet?
Not necessarily. Look for tiles with a Dynamic Coefficient of Friction (DCOF) rating of ≥0.42 for wet areas, per ANSI A137.1 standards. Textured or matte finishes offer better traction than polished ones.
Can I install porcelain tile over radiant floor heating?
Yes—it’s actually ideal. Porcelain conducts heat efficiently and won’t warp. Just ensure your thin-set and grout are flexible and rated for thermal cycling.
How long does porcelain tile for flooring last?
With proper installation, 50+ years is common. The tile itself rarely wears out; failures usually stem from poor substrate prep or grout neglect.
Do I need to seal porcelain tile?
No. Glazed porcelain is non-porous. Only seal the grout to prevent stains.
Where can I get professional help?
If you’re unsure, reach out to our team—we’ve spent decades perfecting installations across Texas. Visit our Contact Us page, and rest assured your data is protected per our Privacy Policy.
In the end, porcelain tile for flooring isn’t just a surface—it’s a statement. Do it right, and you’ll walk on beauty for decades. Do it wrong, and you’ll hear every regret with every footstep. Choose wisely.
Hard floors. Soft regrets. None after today.